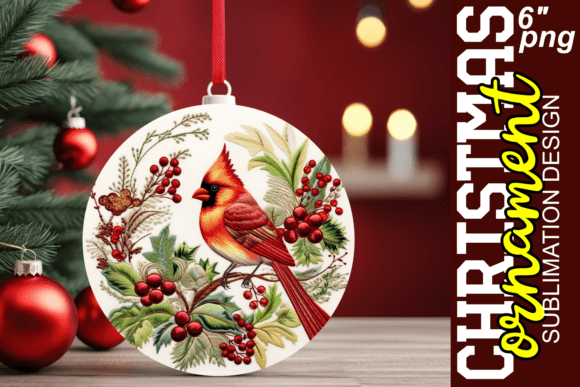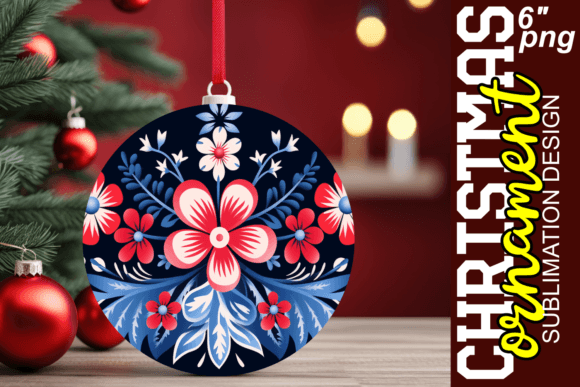
Whimsical 3D Ornament Designs: A Guide to Creative Sublimation Projects
What Are Whimsical 3D Ornament Designs?
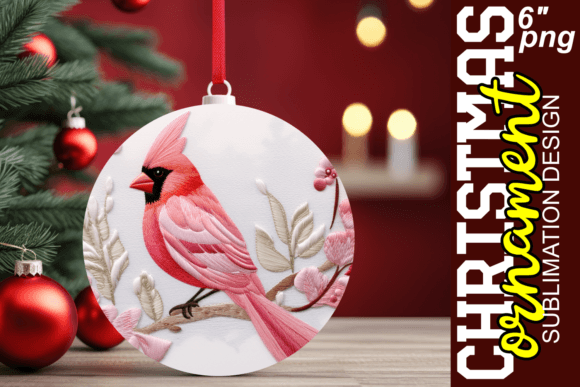
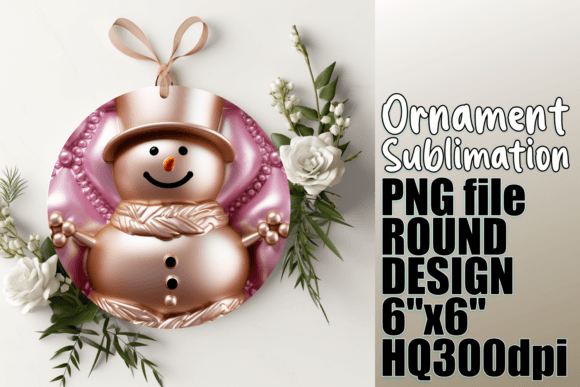
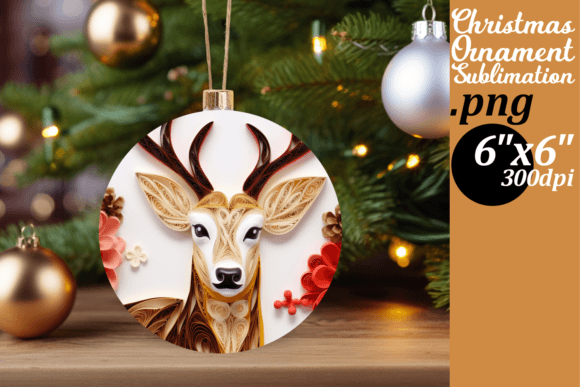
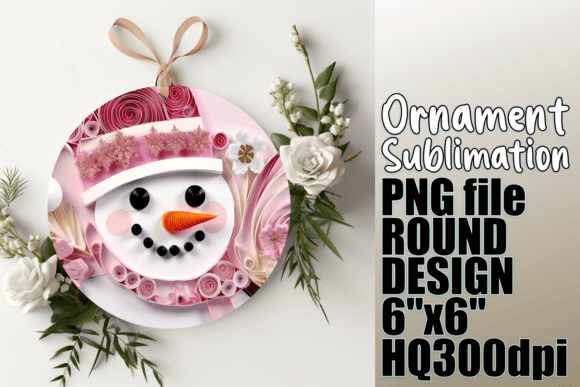
Whimsical 3D ornament designs are a delightful blend of creativity and modern technology, offering an artistic touch to various sublimation projects. These designs are characterized by their playful, imaginative, and often fantastical elements, making them ideal for adding charm and uniqueness to items like mugs, keychains, ornaments, and more. With the rise of digital printing and customization, whimsical 3D designs have become increasingly popular among hobbyists, artists, and small businesses alike.
The Purpose and Significance of Using 3D Ornament Designs in Sublimation
Sublimation printing allows you to transfer high-quality, full-color images onto a wide range of materials using heat. When applied to 3D objects, it opens up endless creative possibilities. Whimsical 3D ornament designs serve as perfect templates for those who want to produce eye-catching personalized products without requiring advanced design skills. These files are typically provided in PNG format, ensuring transparency and clarity that enhance the final printed result.
The significance of these designs lies in their ability to transform ordinary items into extraordinary ones. Whether it's a custom holiday ornament or a unique gift for a friend, whimsical 3D designs add personality and visual appeal. Their popularity is growing in markets such as home décor, party supplies, and seasonal gifts, especially during festive periods like Christmas and New Year’s.
Why Choose High-Resolution PNG Files?
High-resolution PNG files, particularly at 300 DPI, are essential for achieving crisp, clear prints on 3D surfaces. The resolution ensures that even the smallest details in the design remain visible after sublimation. This is especially important when working with intricate patterns or delicate illustrations commonly found in whimsical styles.
- Transparency: PNG files support transparent backgrounds, which means your design will fit seamlessly onto the surface of the item being printed.
- Detail Retention: At 300 DPI, every curve, shadow, and texture in the 3D design is preserved, giving your finished product a professional look.
- Customization: These files are designed to be editable, allowing users to tweak colors, shapes, or text to suit their preferences before printing.
Understanding the Basics of Sublimation Printing
To effectively use whimsical 3D ornament designs, it's crucial to understand the fundamentals of sublimation printing. Unlike traditional inkjet printing, sublimation involves a special type of ink and a heat press. Here’s how it works:
- Design Preparation: Start by editing your chosen design file in suitable software. Ensure the layout matches the shape and size of the object you're printing on.
- Printing: Print the design onto sublimation paper using a compatible printer. Always use sublimation-specific inks for optimal results.
- Heat Pressing: Place the printed design onto the object and apply heat using a sublimation heat press. The heat causes the ink to turn into gas, which then bonds with the material at a molecular level.
- Cooling: Once the heat is removed, the ink solidifies back into its original form, leaving behind a permanent, vibrant image.
This process is widely used in the production of personalized items because it yields durable, long-lasting prints that don't crack, fade, or peel over time. It’s also versatile — suitable for ceramics, metals, plastics, and polyester-based fabrics.
Common Misconceptions About Sublimation and 3D Prints
Many beginners assume that sublimation printing is complicated or that 3D designs won’t work well on curved or irregular surfaces. However, with the right tools and knowledge, the process can be surprisingly straightforward. For example, specialized software like Adobe Photoshop or CorelDRAW includes tools that help wrap 2D images around 3D objects accurately. Additionally, many heat presses come with adjustable pressure settings to accommodate different materials and shapes.
Another misconception is that sublimation requires expensive equipment. While quality tools do improve outcomes, there are affordable options available for beginners, including entry-level heat presses and sublimation printers. What matters most is understanding the workflow and preparing your design correctly.
How to Use Whimsical 3D Ornament Designs Effectively
Using a whimsical 3D ornament design starts with selecting the right file. Since these designs are created specifically for a 6-inch x 6-inch round sublimation format, they are optimized for circular items such as mugs, ornaments, and coasters. Before purchasing any design file, ensure you have the necessary software and hardware in place to avoid delays or frustration.
Essential Software and Equipment
Here are the key components needed to successfully use a whimsical 3D ornament design:
- Design Software: Programs like Adobe Photoshop, Illustrator, or CorelDRAW allow you to edit and prepare the design for printing.
- Sublimation Printer: A standard inkjet printer isn't sufficient; you need one compatible with sublimation inks, such as the Epson SureColor series.
- Sublimation Paper: This is the medium onto which your design is printed before being transferred to the final product.
- Heat Press: A reliable heat press is necessary to apply the design properly. Some models come with timers and temperature controls to ensure precision.
- 3D Objects with Sublimation Coating: Not all 3D items can accept sublimation ink. Make sure the object has a polymer coating or is made from a material that supports sublimation.
Step-by-Step Process for Beginners
- Download the 3D ornament design file (PNG) and open it in your preferred design software.
- Edit the design if desired — change colors, add text, or adjust elements to match your vision.
- Print the edited design onto sublimation paper using the correct printer settings for the best quality.
- Place the printed design onto the 3D object, aligning it carefully. Secure it with tape or clips to prevent shifting.
- Use the heat press to apply heat and pressure for the recommended duration (usually 15–45 seconds depending on the item).
- Allow the object to cool completely before peeling off the paper. Your whimsical design should now be permanently set.
Practical Uses for Whimsical 3D Ornament Designs
Whimsical 3D ornament designs aren't just for holidays — they can be integrated into various aspects of life, work, and business. Here are some creative uses:
- Home Décor: Add personalized touches to mugs, picture frames, and decorative balls for a magical atmosphere in your living space.
- Gifts and Merchandise: Create custom gifts for friends, family, or sell as part of a small business venture. Items like keychains, ornaments, and phone cases make excellent products.
- Party Supplies: Use these designs for themed parties, weddings, or baby showers. Customized cups and decorations elevate the experience.
- Education and Crafts: Teachers and craft enthusiasts can incorporate whimsical 3D prints into classroom activities or DIY kits to inspire creativity in students and hobbyists.
For instance, imagine creating a set of personalized ornaments for a child's birthday party. Each could feature their name or favorite animal in a dreamy, three-dimensional style. Such items not only stand out visually but also create lasting memories.
Why Support and Compatibility Matter
While whimsical 3D ornament designs offer incredible creative potential, it's vital to remember that technical compatibility is key. If you’re new to sublimation, investing in the wrong printer or paper can lead to poor results. Always verify that your equipment meets the requirements specified by the design provider.
Support is another critical factor. Most design sellers, like the one offering this file, provide assistance only for issues related to the file itself. They typically won’t guide you through the entire sublimation process. Therefore, having access to tutorials, online communities, or local workshops can significantly boost your confidence and success rate.
Enhancing Creativity Through Technology
Technology has revolutionized how we approach art and design. The ability to take a whimsical 3D ornament design and print it onto physical objects represents the intersection of digital innovation and tactile creativity. This trend is especially relevant in today’s world, where personalization is highly valued across industries.
In education, students learn about design principles and digital workflows while applying them to real-world projects. In business, entrepreneurs leverage these techniques to launch niche product lines with minimal overhead costs. And in daily life, people enjoy expressing their individuality through custom-made items that reflect their unique tastes and stories.
Examples of Whimsical 3D Designs in Action
Let’s explore a few practical examples of how whimsical 3D ornament designs can be used:
- Christmas Ornaments: A snow globe-like design with floating stars or tiny animals makes for a charming holiday decoration.
- Personalized Mugs: A 3D cartoon character holding a coffee cup adds a playful twist to morning routines.
- Keychain Creations: Miniature 3D scenes like a fairy tale village or underwater adventure can turn simple accessories into conversation starters.
These examples demonstrate how whimsical designs can be adapted to different themes and purposes. The beauty of using pre-designed templates is that they save time while still allowing room for personalization. You don’t need to be an artist to bring your ideas to life — just a bit of imagination and the right tools.
Getting Started: Tips for Success
If you're eager to dive into the world of whimsical 3D ornament designs, here are some tips to ensure a smooth start:
- Test First: Before printing large batches, test your design on a single item to check color accuracy and alignment.
- Follow Guidelines: Pay close attention to the recommended temperatures and pressing times for your specific materials. Deviating too much can affect the final outcome.
- Prepare Your Workspace: Keep your area clean and organized to avoid smudges or misalignment during the printing and pressing stages.
- Learn from Others: Join online forums or watch YouTube tutorials to see how others handle similar projects. Community insights can be incredibly valuable.
Remember, practice makes perfect. Don’t be discouraged if your first attempt doesn’t look exactly as expected. Many creators refine their process over time, adjusting temperatures, pressures, and even design elements based on trial and error.
Conclusion: Embrace the Magic of Whimsical Design
Whimsical 3D ornament designs offer a fun and accessible way to explore sublimation printing. Whether you're looking to create meaningful gifts, decorate your home, or start a small business, these designs provide the foundation for stunning, customizable items. By understanding the basics of sublimation, ensuring you have the right tools, and experimenting with your creations, you can unlock a world of artistic expression.
With the included PNG file, you’re given a high-quality, ready-to-use template that’s been crafted with care and precision. It's designed for a 6-inch round sublimation format, ensuring it fits perfectly on a variety of objects. The exceptional 300 DPI resolution guarantees sharp, vivid results that capture the whimsy and wonder of your chosen design.
So, if you're ready to infuse a little magic into your next project, consider exploring whimsical 3D ornament designs. Just keep in mind that while the file itself is easy to modify and use, a strong grasp of sublimation techniques will go a long way in helping you achieve professional-grade results. Happy designing!